Output Action
A file's Output Action defines what CodeKit does when that file is changed or built. There are three options:
1. Process/Compile
CodeKit processes the file using options specified for files of that type. The result is written to the file's output path. Note: if you use Hooks, those are only run on files with this Output Action.
2. Copy
CodeKit copies the file, exactly as it is, to the output path. NO processing of any kind (including Hooks) is done. For example, you might want README.md to be copied and left in Markdown format instead of compiled into HTML.
3. Ignore
CodeKit does nothing with this file. Changes to it are ignored and the file is skipped when you build the project.
Setting Output Options

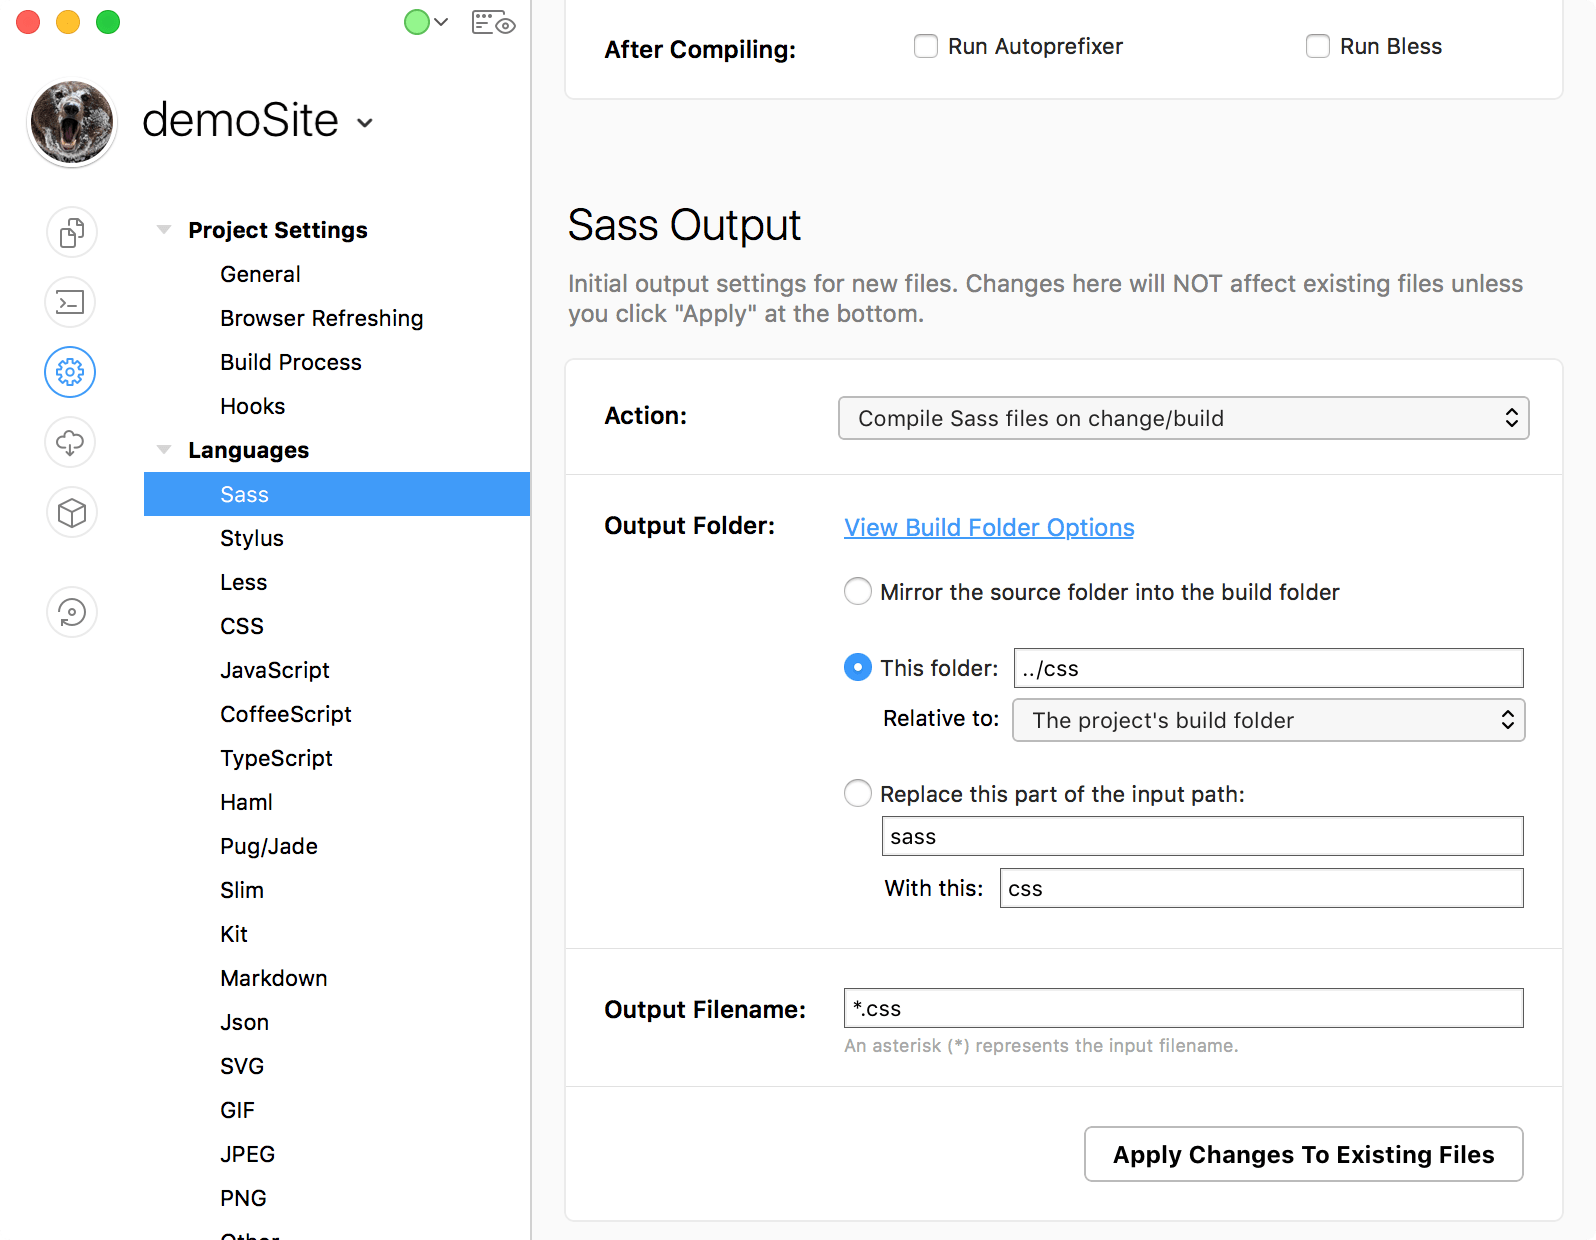
To change the Output Action for a certain type of file, open Project Settings and select the appropriate language.
The Output Action is at the top of the second section. The Output Path rules are below it. You may need to scroll down:
Note: Changes Don't Affect Existing Files
Changes to the Output Action or Output Path options in Project Settings do not automatically apply to existing files of the selected type. You must click the Apply Changes To Existing Files button if you want your changes to affect existing files. Otherwise, they'll only be used for new files of that type that you add to the Project from now on. The reason for this is that changing output paths can be highly destructive. It's best to configure these settings once in Defaults For New Projects.
Custom File Types
You can set default Output Actions and Output Path rules for custom file types. See Adding Custom Languages.
Change One File
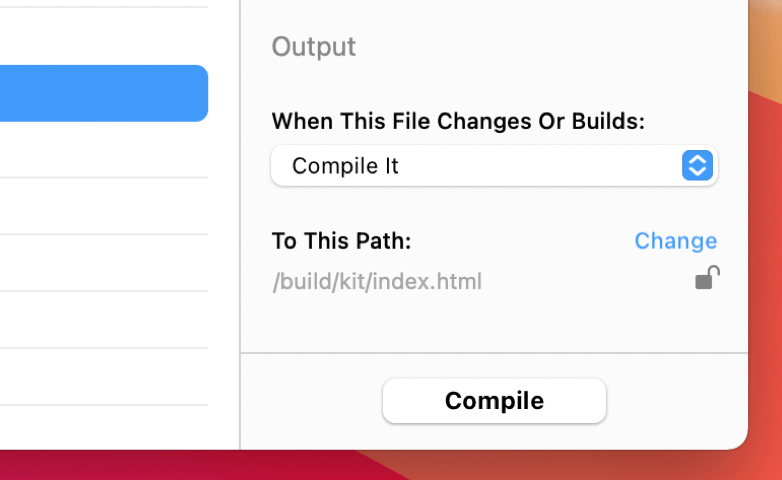
You can also set the Output Action and Output Path on a file-by-file basis.
Select a file in the list and scroll to the bottom of the Inspector Pane.
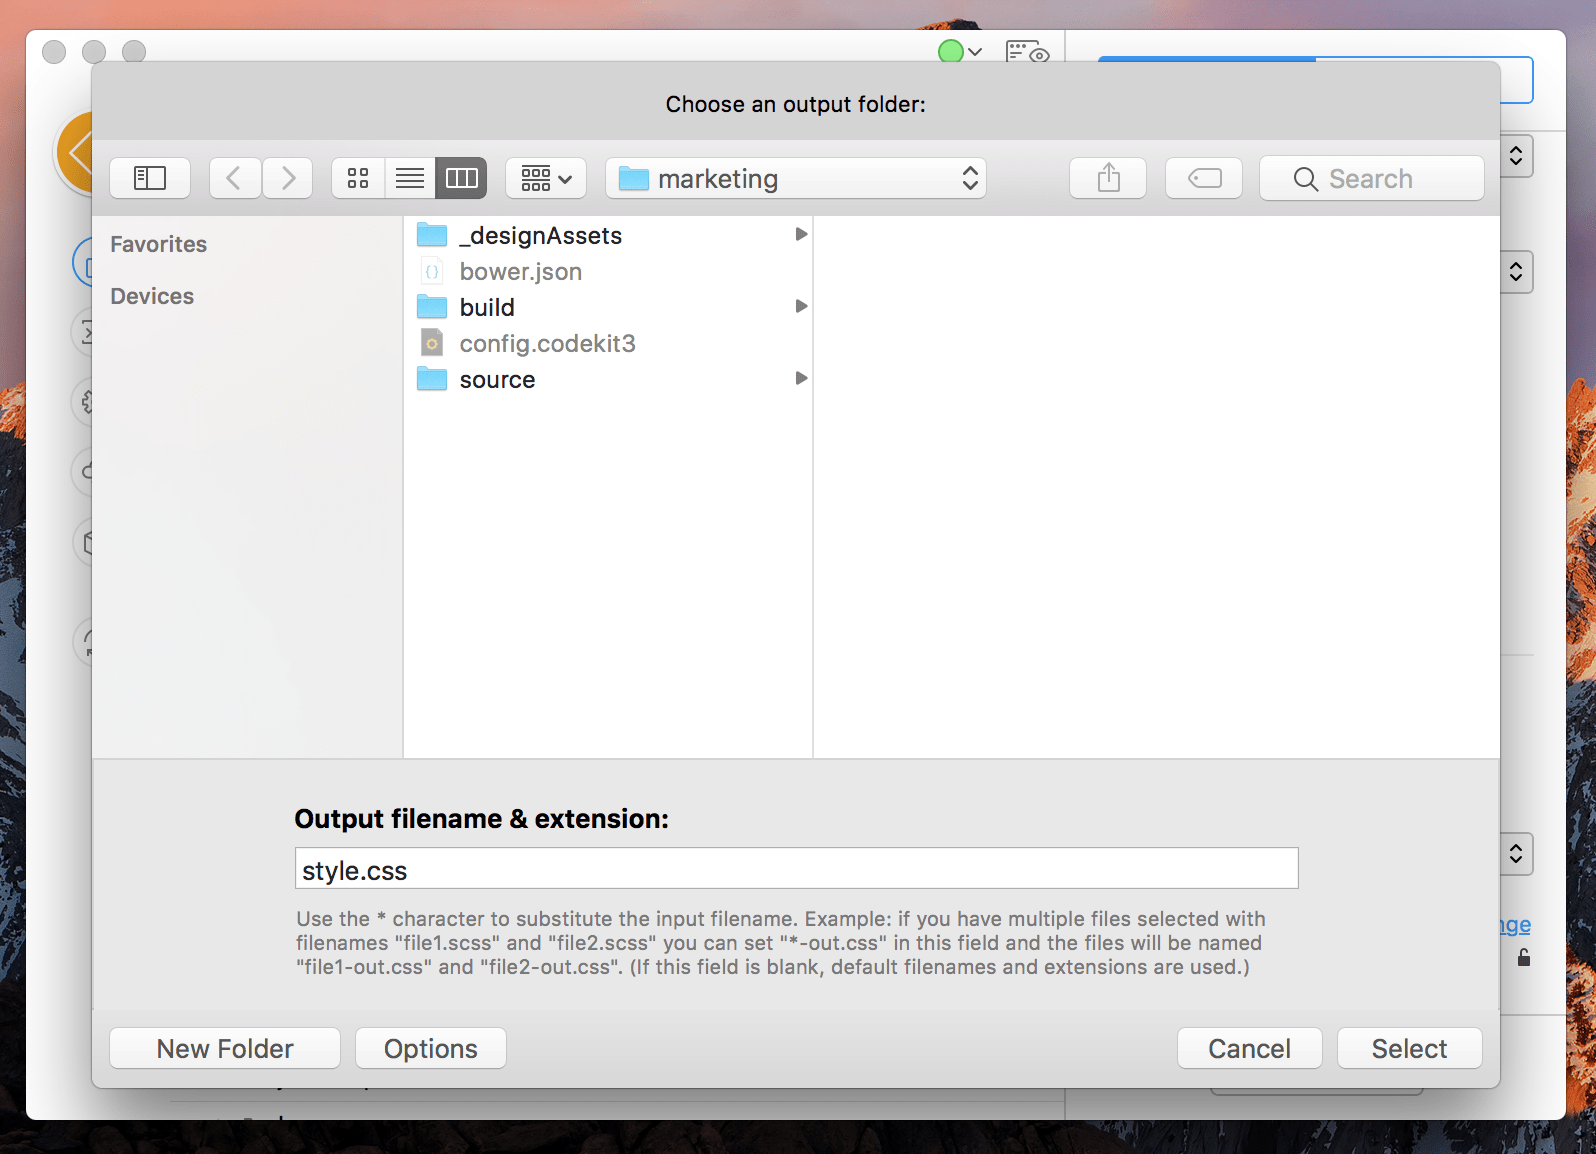
Click Change to set a new Output Path. In the sheet that opens, select a folder and use the text field at the bottom to rename the output file, if needed:
The Lock Button
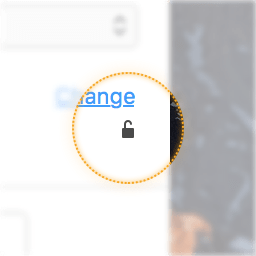
This button indicates whether CodeKit automatically updates the Output Path as the source file is moved or renamed.
For example, if you rename main.scss to other.scss and the Output Path is unlocked, CodeKit changes the output filename from main.css to other.css. The app forms the new Output Path by applying the rules in Project Settings for the affected language.
When you set an Output Path manually (using the Change button), CodeKit locks the Output Path so that it no longer updates as the source file is moved or renamed. You can control this state by clicking the Lock button.
Note: Toggling the build folder on/off in Project Settings will still add or remove the build folder path to the beginning of all Output Paths, even if they're locked.
Output Path Rules
The first section defines which folder the output file goes into. There are three options that vary depending on whether your Project uses a Build Folder:
For Projects NOT Using A Build Folder
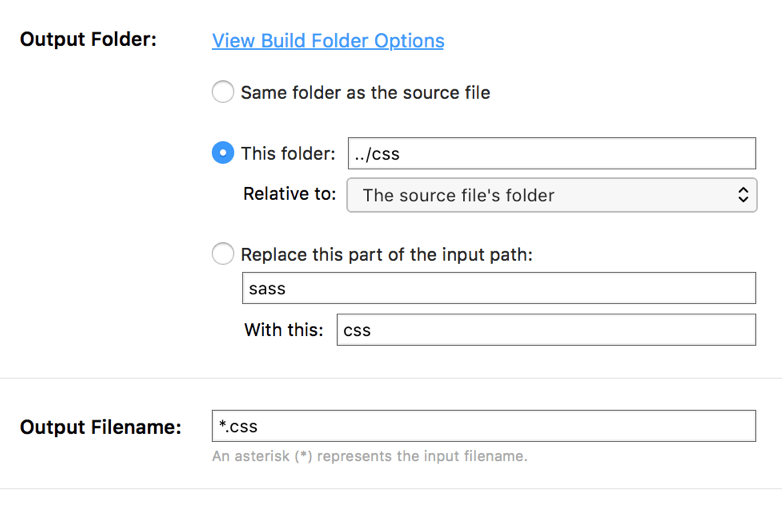
- The same folder as the source file.
- A folder relative to either the Project's root folder, or the source file's folder. You may use ../ to go up a directory, until you reach the Project's root folder. Wildcards (*) are NOT allowed and the path must not contain filenames.
- A folder by replacing all occurrences of the first string with the second. If the first string contains a /, a literal string replacement is performed on the source file's input path, starting from the Project's Root Folder. Otherwise, each component of the input path is evaluated separately and considered for replacement if it matches your first string. No replacement is performed on parts of the path above the Project's Root Folder. No wildcards are allowed.
For Projects Using A Build Folder
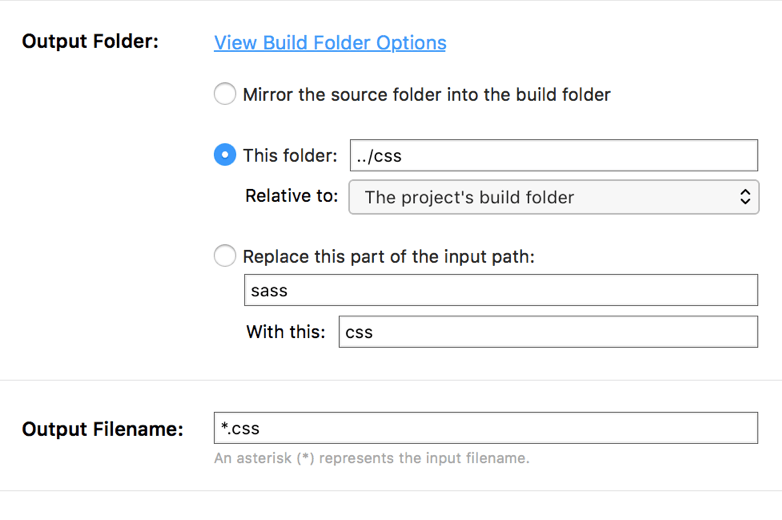
- The same folder, mirrored into the build folder. (This option is the best for Build Folder workflows!)
- A folder relative to either the Build Folder, or the Source file AS IF it were mirrored into the Build Folder. You may use ../ to go up a directory, until you reach the Project's Build Folder. Wildcards (*) are NOT allowed and the path must not contain filenames.
- A folder by replacing all occurrences of the first string with the second. If the first string contains a /, a literal string replacement is performed on the source file's input path, starting from the Project's Root Folder. Otherwise, each component of the input path is evaluated separately and considered for replacement if it matches your first string. No replacement is performed on parts of the path above the Project's Root Folder. No wildcards are allowed.
The Output Filename
The last section tells CodeKit how to name the output file. An * represents the source file's name, without its extension.
For some file types, like JavaScript, the default is to name output files with a suffix: myfile-min.js so that the output cannot overwrite the input file. If you use Build Folders, you may want to change this so that the output file has the same name as the input file. That makes it easy to write <link> tags.
Always Use Build Folders?
For backwards-compatibility, CodeKit ships with defaults that are appropriate for projects that do NOT use Build Folders. For example, JavaScript output files are named *-min.js and they're set to go into a folder named /min, next to the source file.
If you always use Build Folders, you'll want to adjust the defaults. For example, you probably want JavaScript files compiled to *.js, without the suffix, and without the /min folder.
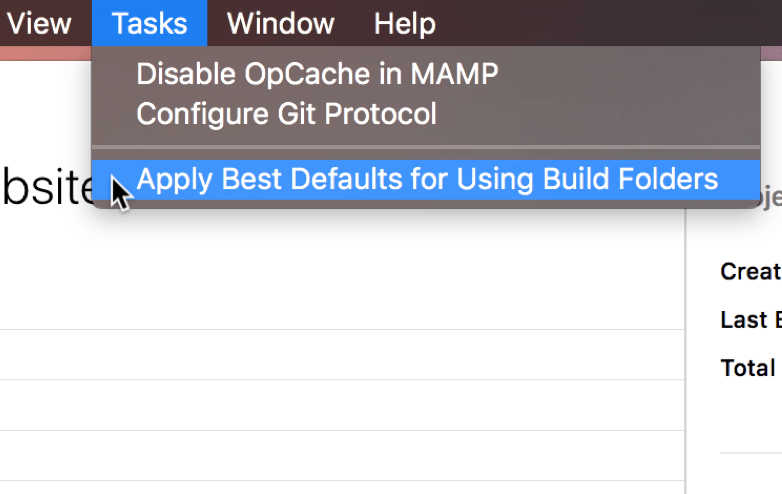
Rather than adjust all these defaults manually, choose Tasks > Apply Best Defaults For Using Build Folders from CodeKit's menubar. The app will automatically configure Defaults For New Projects so that they're perfect for Build Folder workflows.