70% Smaller PNG Files
CodeKit can reduce PNG file sizes by about 70% with virtually no change in image quality—it's straight-up witchcraft.
To do this, CodeKit uses a tool called PNGQuant, which is written by Kornel Lesiński. Kornel also develops the industry-standard Mac App, ImageOptim.
The Image Inspector
Select one or more PNG images in CodeKit and you'll see the Image Inspector:
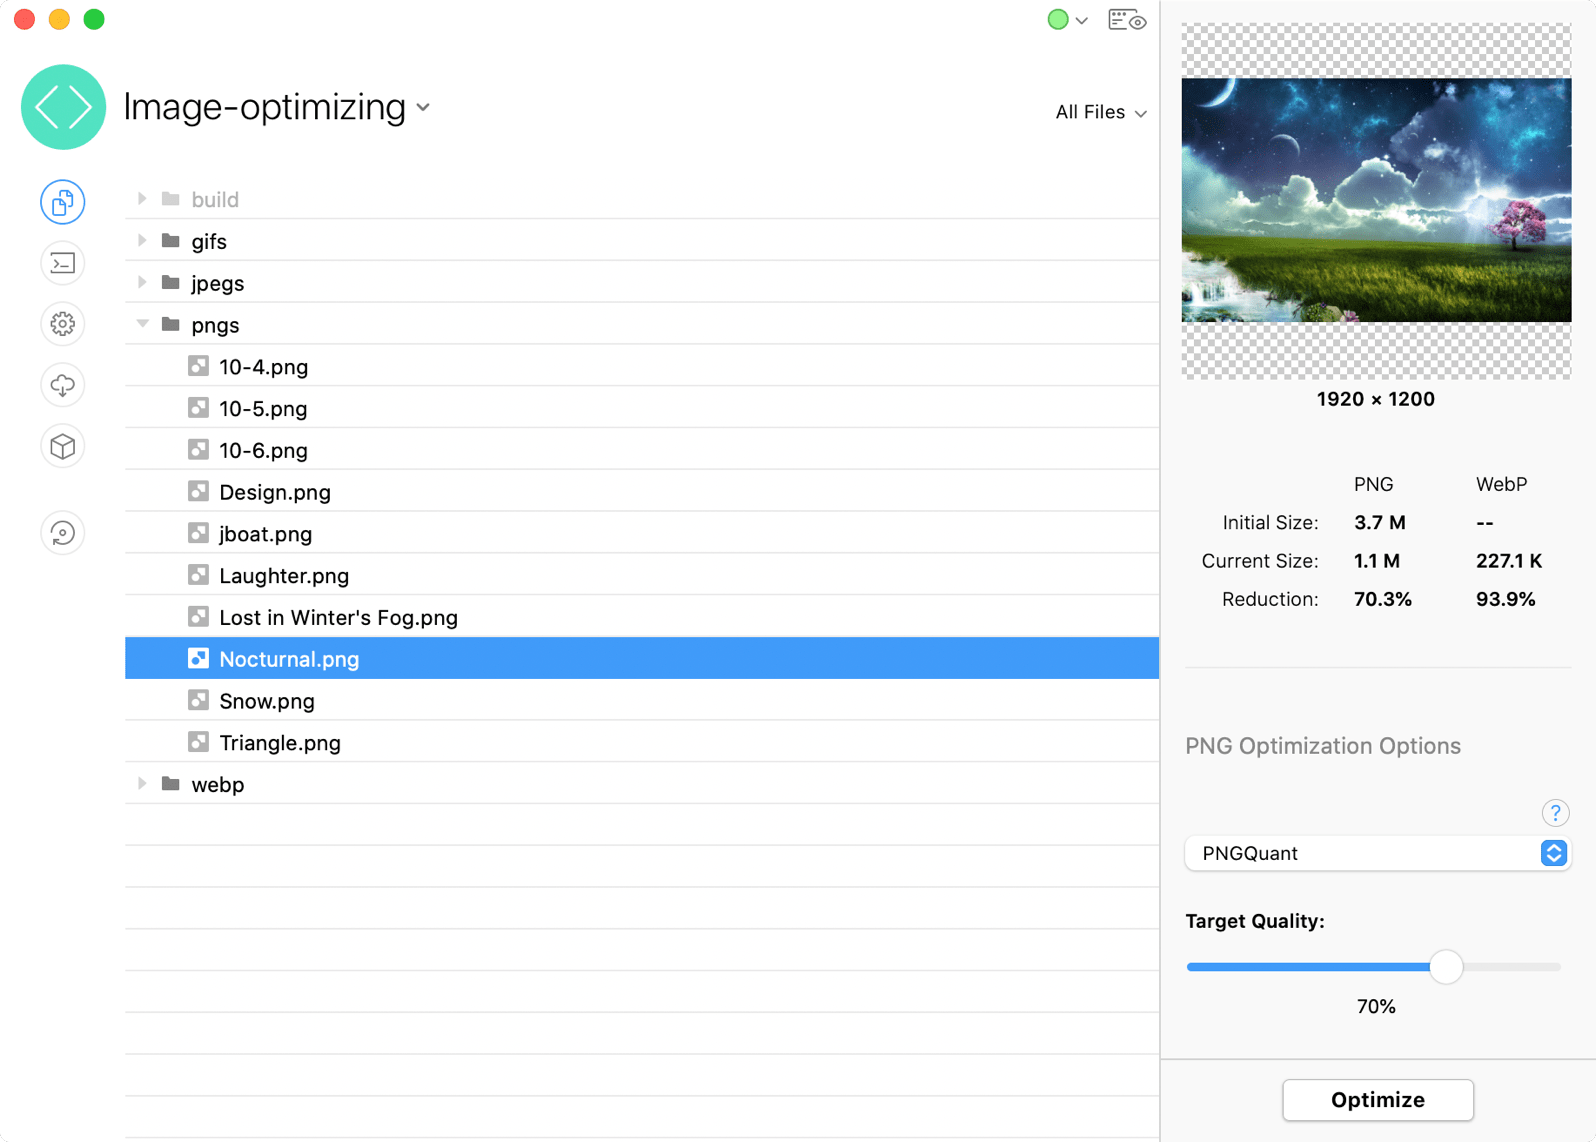
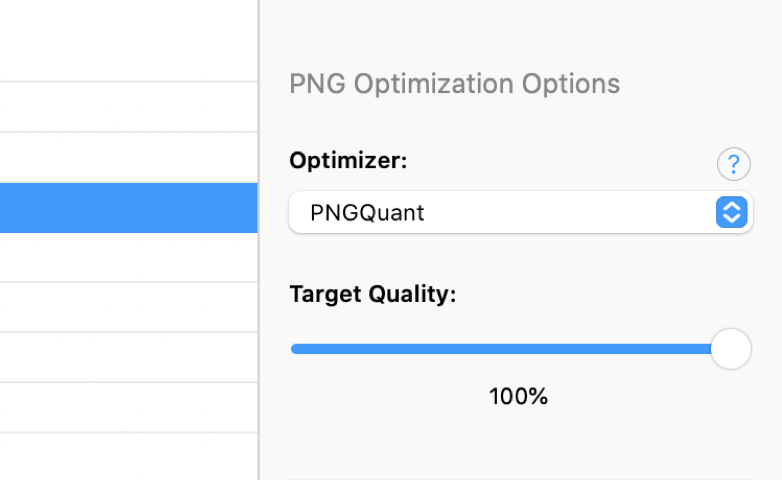
PNG Optimization Options
If you don't see this section of the Image Inspector, make sure you've selected only PNG images.
Which Optimizer Should I Use?
PNGQuant is the right choice 98% of the time. However, it may produce "banding" in images with subtle gradients like fog or clouds. For these images, consider OptiPNG.
OptiPNG is 100% lossless and works by deleting extra metadata and then recompressing your image file. However, since modern image-editing apps already write really efficient PNGs, you'll typically see only about 1-2% reductions.
Target Quality
This option is enabled when you choose PNGQuant. Below 80%, you may start to see "noise" in the optimized image. However, for images containing mostly solid blocks of colors (UI elements, screenshots, etc.) setting a lower value can reduce file sizes by 90% or more without any loss in visual quality. (Note: this value does not apply to OptiPNG, which is always 100% lossless.)
WebP Options
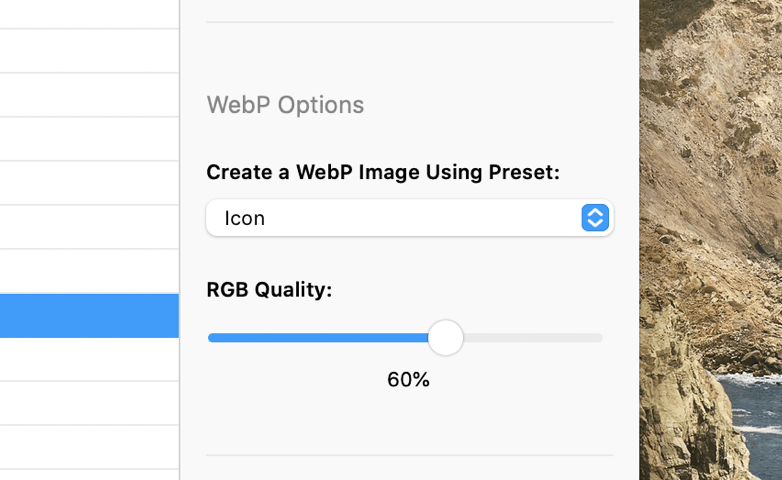
CodeKit can create a WebP version of your PNG image automatically. WebP is an image format by Google that offers much smaller file sizes for the same visual quality. For details about these options see WebP Image Optimization.
How do I use the WebP image?
The "picture" element loads WebP images when a browser supports them and fallbacks to PNGs when it does not:
<picture>
    <source srcset="img/image.webp" type="image/webp">
    <source srcset="img/image.png" type="image/png">
    <img src="img/image.png" alt="Alt Text">
</picture>
For ancient browsers that don't even support the <picture> element, the above snippet still works because the img element has a "src" attribute set. To use WebP in CSS and other places, see this CSS-Tricks article.
Image Comparison
If your project uses a Build Folder, you can easily compare the original and optimized images. Select the image in CodeKit's list of files, then press the spacebar. Alternately, double-click the image thumbnail in the inspector.
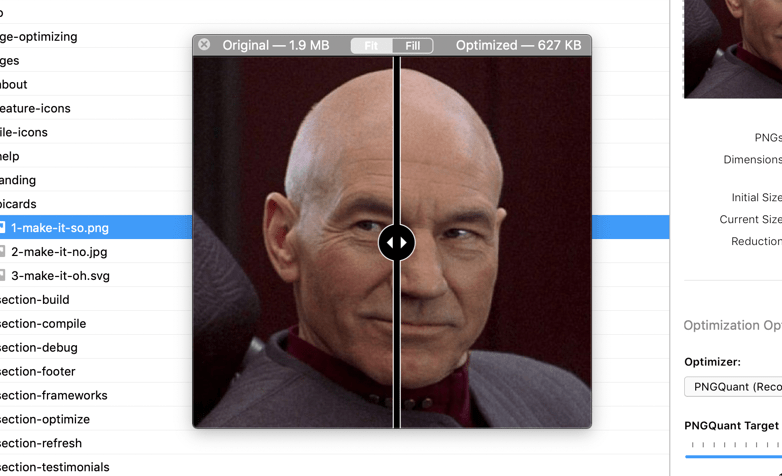
The new window shows the original image on the left and the optimized version on the right. Drag the slider to compare details.
If there are multiple output images (e.g. PNG + WebP), you can pick the one displayed in the window. Use the pop-up button in the top right corner.
Note: You will not see the image comparison window if your image optimizes "in-place", because the optimized version overwrites the original file.
Other Details
A Note About "Initial Size"
This is how large an image was the first time CodeKit ever saw it. The value never changes. So, if you start with a small image (say, 50x50 px) and then replace it with a bigger one (say, 5000x5000 px), it's possible that the current size may be larger than the initial size, even after optimization. In this case, the initial size isn't really accurate because it was set when a smaller file occupied the path.
Output Path & Action
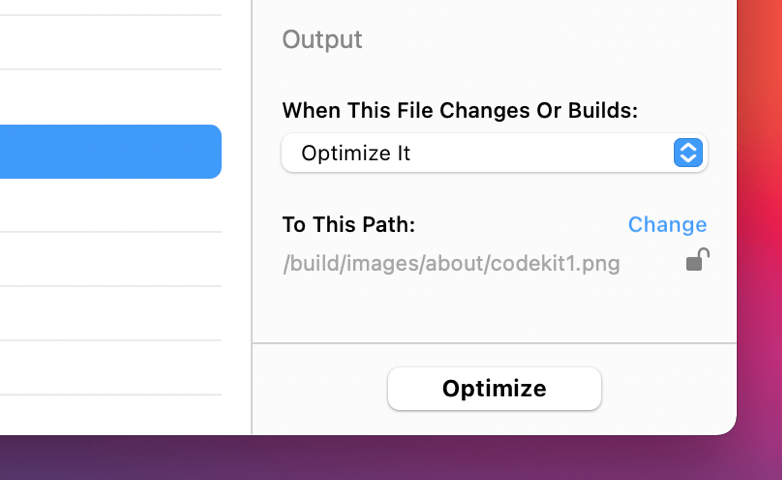
These options apply to files of all types. They are explained in Setting Output Paths & Actions.
Normally, CodeKit will not copy or process a file if its output path is the same as its input path. The exception to this is images.
Why Don't Images Optimize Automatically When I Add Them?
They will if your project uses a Build Folder. If not, CodeKit won't automatically optimize images as you add them to a Project because that's a destructive action—without a build folder, the optimized image overwrites the original one.