
What's Babel?
The latest release of JavaScript, called ES2022, has a lot of features that browsers don't support yet.
You don't have to wait. You can write ES2022 now and Babel will transform it into syntax that today's browsers understand.
Why Do This?
First, because cutting-edge JavaScript is much nicer to use and more powerful. Secondly, because many frameworks like Zurb Foundation and React now rely on Babel. They won't work without it.
Enabling Babel
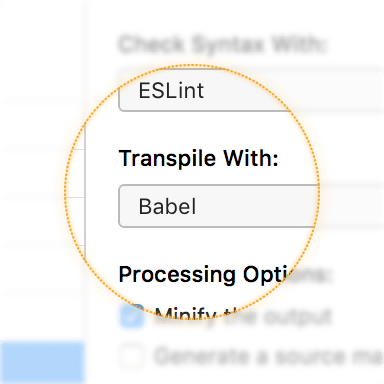
Select a JavaScript file and look at the Inspector Pane. Choose "Babel" from the Transpile With pop-up button.
You can also enable Babel for all JS files at once. Open Project Settings and choose the JavaScript category.
Note: If you use Babel, the only syntax checker you should choose is ESLint. It's the only one that understands ES2015 syntax.
Configuring Babel
Open Project Settings and choose the Babel category:

Automatic Configuration
By default, Babel will automatically configure itself to support the browsers you specify in Target Browsers.
If needed, you can manually configure Babel by changing the "Babel Configuration" option and then enabling specific Babel plugins from the list.
Basic Options
The before/after comments will wrap Babel-generated code so you can see what the transpiler produces. For details about the remaining options shown above, see the Babel documentation.
Babel Config Files
You can also configure Babel using special files named .babelrc. By default, CodeKit ignores these files. To change that, check the "enable support for .babelrc files" box. Settings from your configuration file will be merged with those from CodeKit's UI
You can also tell CodeKit to use only your .babelrc files. To do that, select the appropriate option in the "Babel Configuration" pop-up button.
React and Flow
If your project uses React or Flow, just check the appropriate box to enable support for each.
The "UseBuiltIns" Option
Sometimes, Babel needs to include helper functions to make newer JavaScript features (like async/await) work in older browsers. These are called "polyfills." The useBuiltIns option controls how Babel adds polyfills:
- False — Babel won't add polyfills; you must include them yourself.
- Entry — You must import core-js and regenerator-runtime in your JS file. Babel will find and replace those imports with the exact polyfills your code needs.
- Usage — Babel will automatically add polyfills as required. You need not import anything in your JS files.
When you select Entry or Usage, CodeKit will verify that your project has core-js and regenerator-runtime installed. If it does not, you'll be prompted to install them. That's required to make the polyfills work.
How Do I Use Async/Await?
You follow three steps:
- In Project Settings > Babel, set the useBuiltIns option to "Usage".
- If CodeKit offers to install two npm packages, say yes.
- Select your JS file in CodeKit, and set the Transpile With option to "Babel".
Custom Babel Presets & Plugins
There are hundreds of third-party Babel plugins. To use them with CodeKit, add their names to the "custom plugins" field:
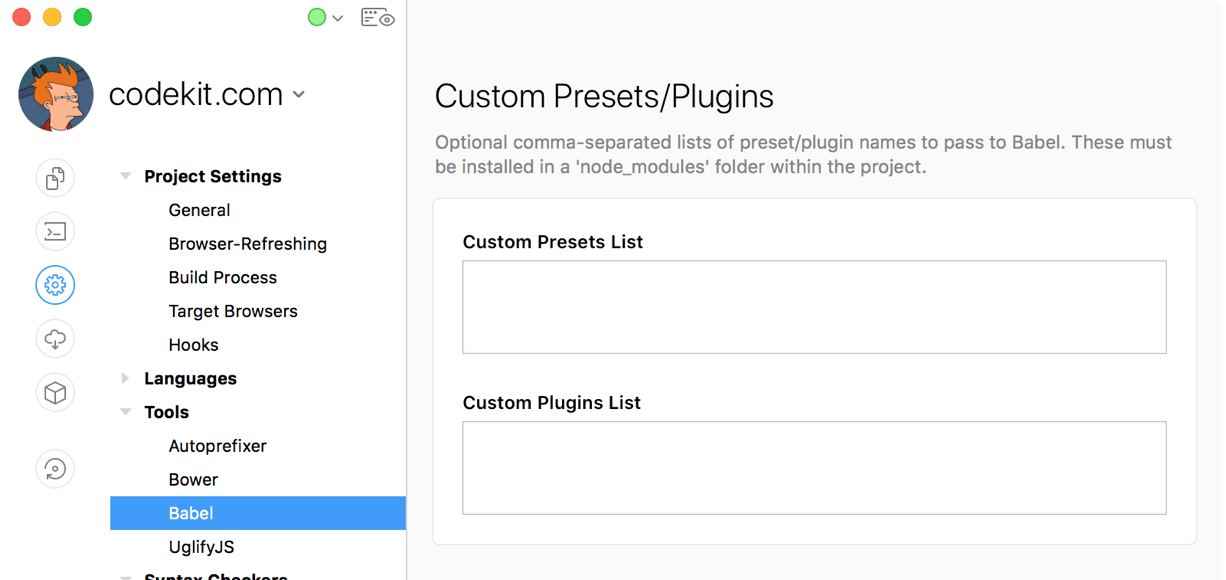
You must install these plugins using npm, since they don't ship with CodeKit. They should be in a node_modules directory under your Project's Root Folder. Verify that each one is compatible with the version of Babel in CodeKit (see the About Window). You may want to use a .babelrc file if your third-party plugins require custom options.
Individual Plugins
Finally, you can enable individual Babel plugins, if needed:
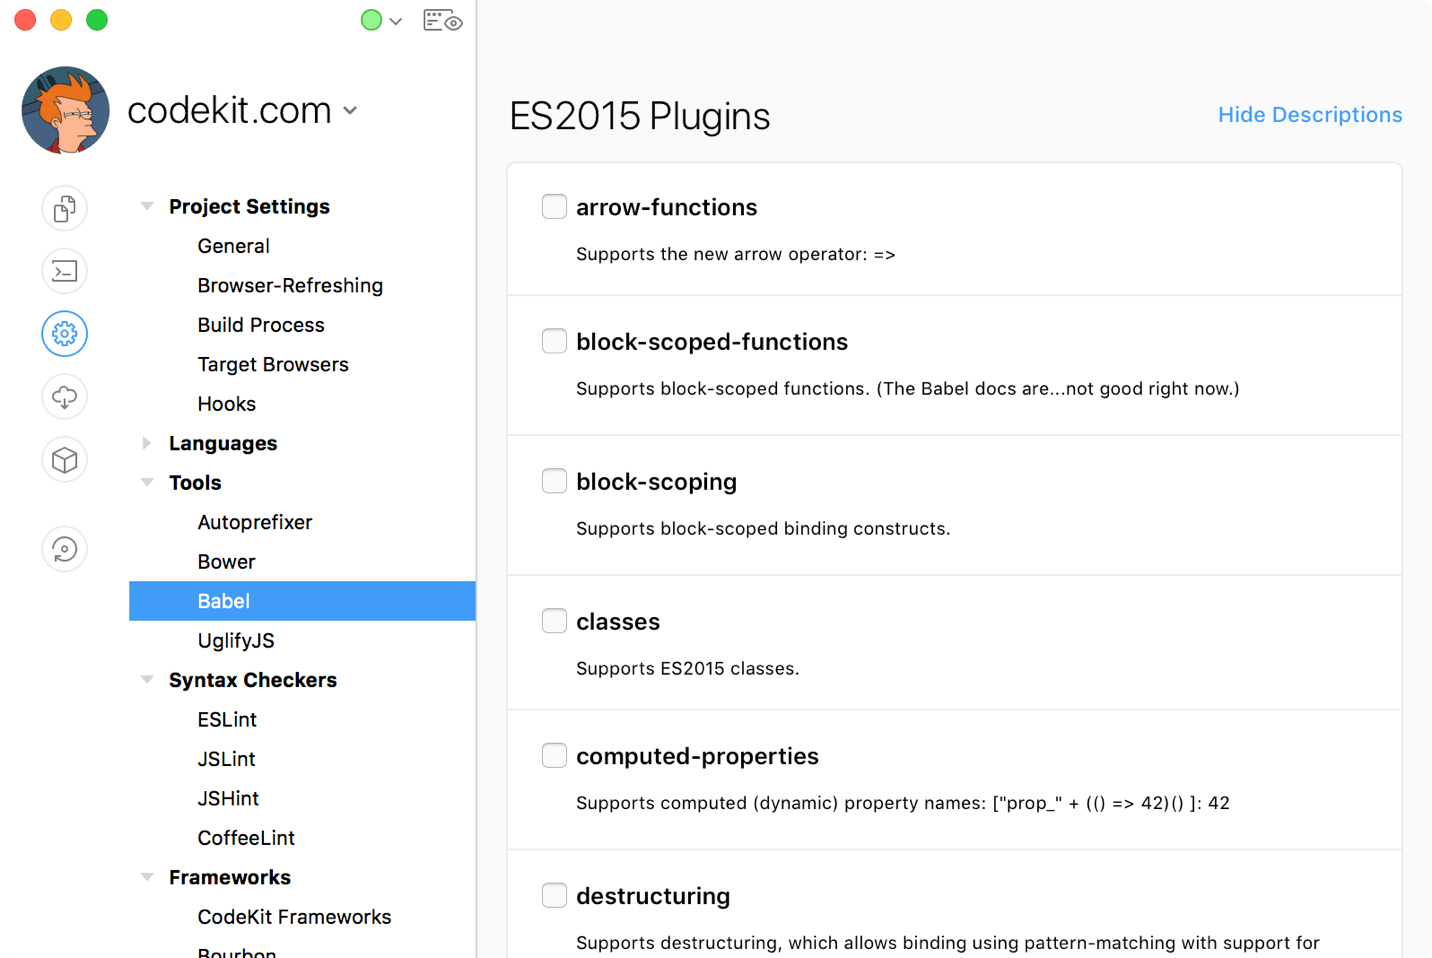
The plugins are grouped by their official category. Check the box to enable a plugin or leave it unchecked to disable it.
Note:If Babel is set to "auto-configure", any plugins that you select are passed in addition to the plugins that Babel automatically enables to support your target browsers.